Jenkins Integration
Jenkins integration
This integration guide has instructions for Jenkins integration with LAAVAT PKI and Signing Platform.
In order to use Jenkins, a cloud-native Service Principal needs to be added to Azure AD as a registered application. By registering an application, the client ID and client secret are obtained, and they are used to retrieve an access token for the LAAVAT PKI and Signing Platform.
Since the LAAVAT PKI and Signing Platform uses AD group information to grant access for specific operation(e.g., digest signing), a Azure native group needs to be created. This cloud native Service Principal is added to that group. The Azure group ids need to be present in the LAAVAT PKI and Signing Platform.
Integration environment
These integration instructions are tested with the following Jenkins and Jenkins plugin versions
- Jenkins version 2.222.3
- Jenkins Plugins:
- HTTP Request Plugin 1.8.26
- Pipeline Utility Steps 2.5.0
Common settings to enable communication to LAAVAT PKI and Signing Platform
Service Principal clientid and client secret
Credentials need to be added to the Jenkins credential store before you can access LAAVAT PKI and Signing Platform on the Jenkins pipeline.
The credentials in Jenkins case are Azure AD Application (client) ID and client secret.
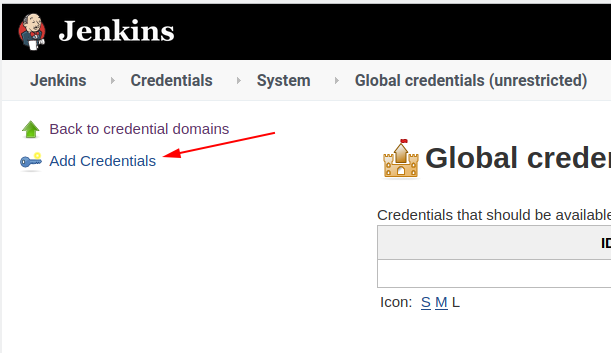
- Open credentials view
- Click add credentials
- Select Username password
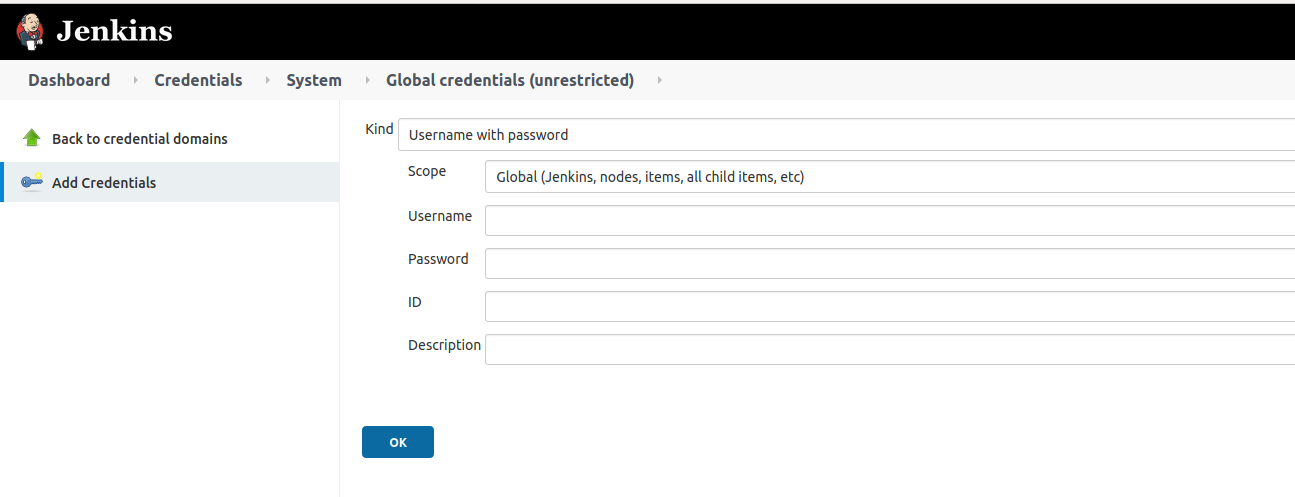
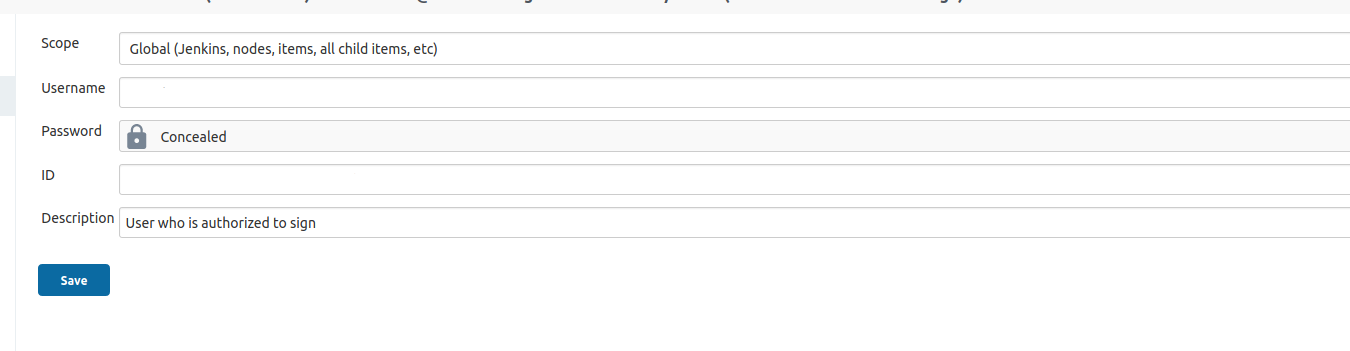
- Type the clientid
- Type the client secret
- Fill in an ID for this credential
- Optional: Add a description of this credential
Jenkins pipeline examples
Jenkins pipeline to send digest signing
This is an example setup to show how to do digest signing.
This is an example setup to show how to submit digests for signing to the LAAVAT PKI and Signing Platform from Jenkins pipeline.
- Parameters required for the pipeline
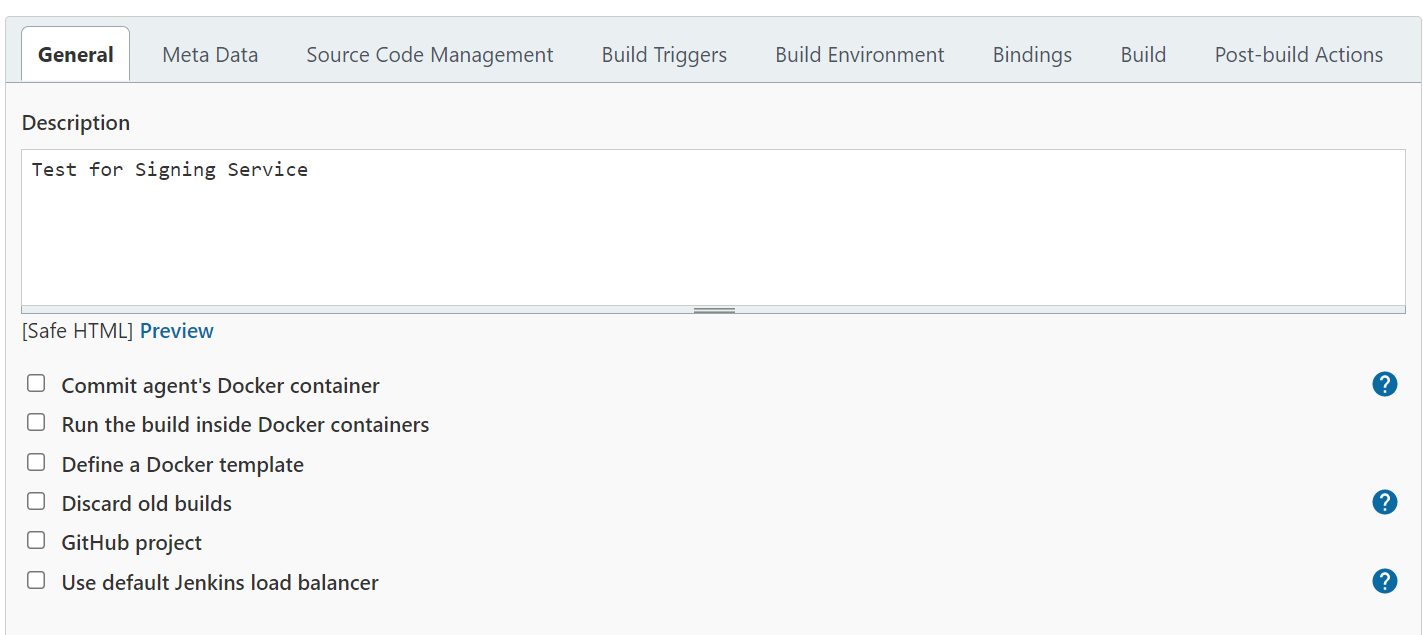
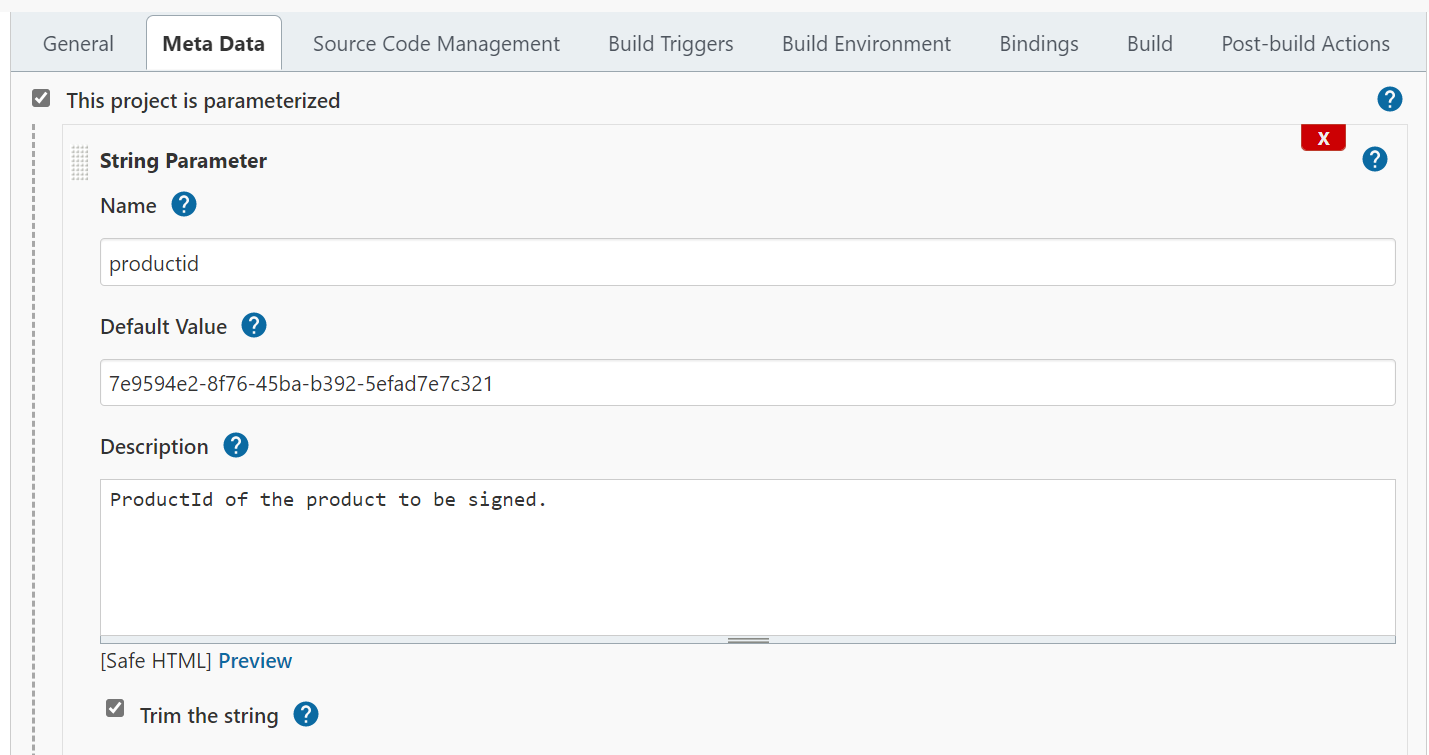
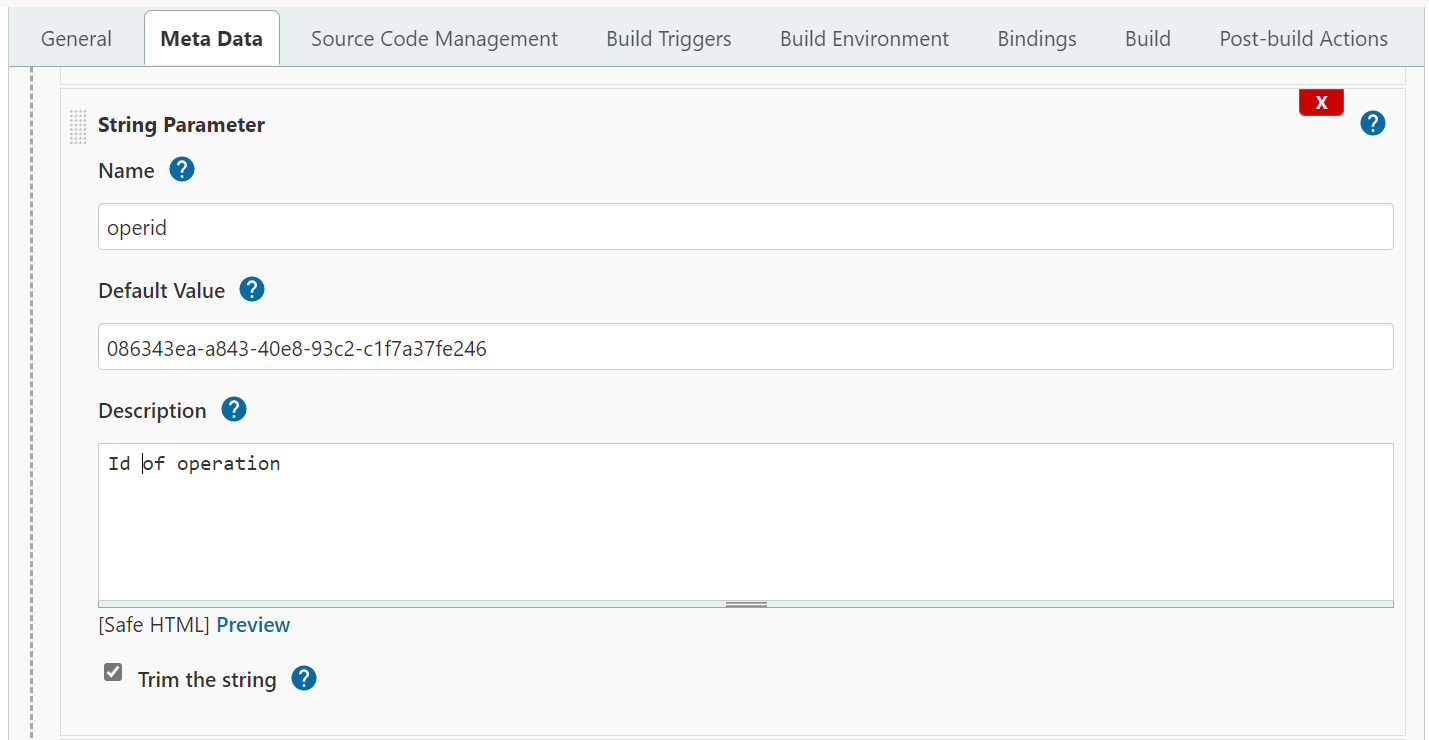
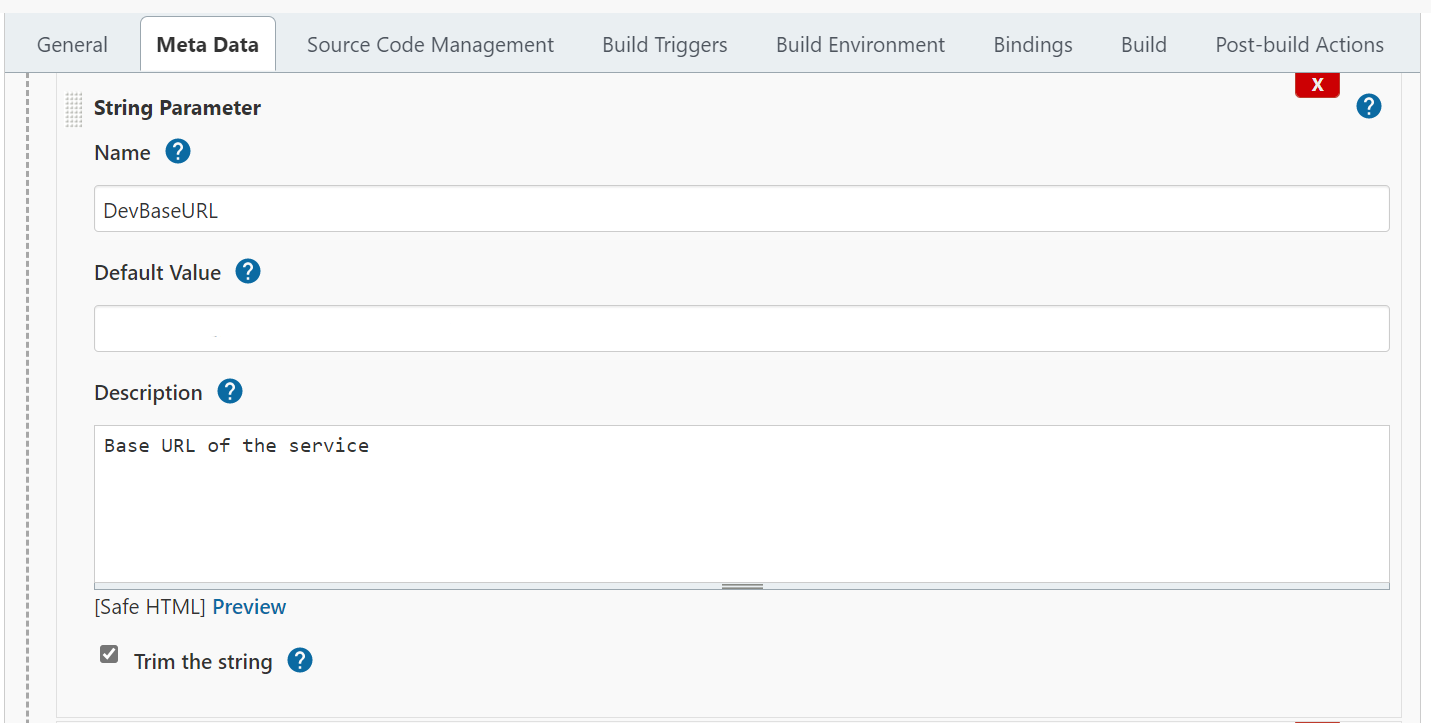
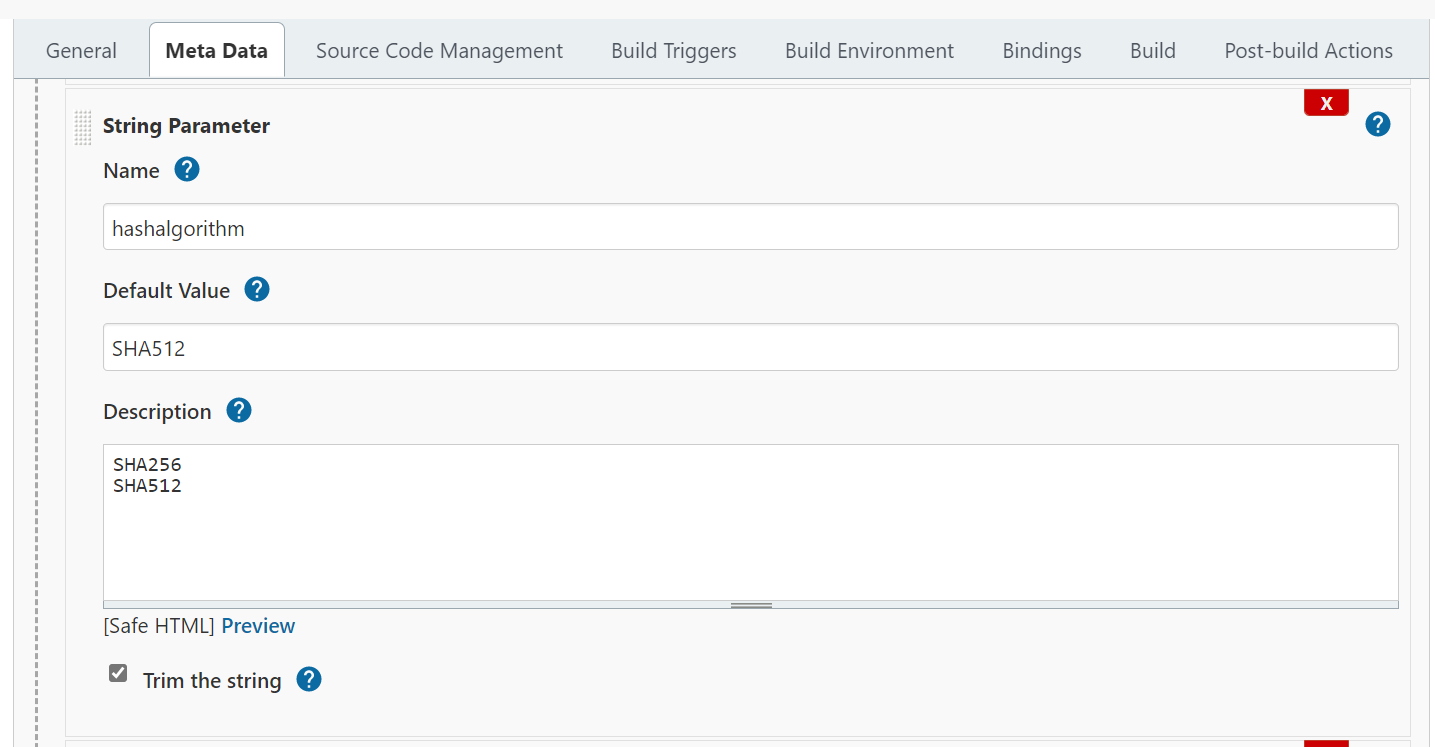
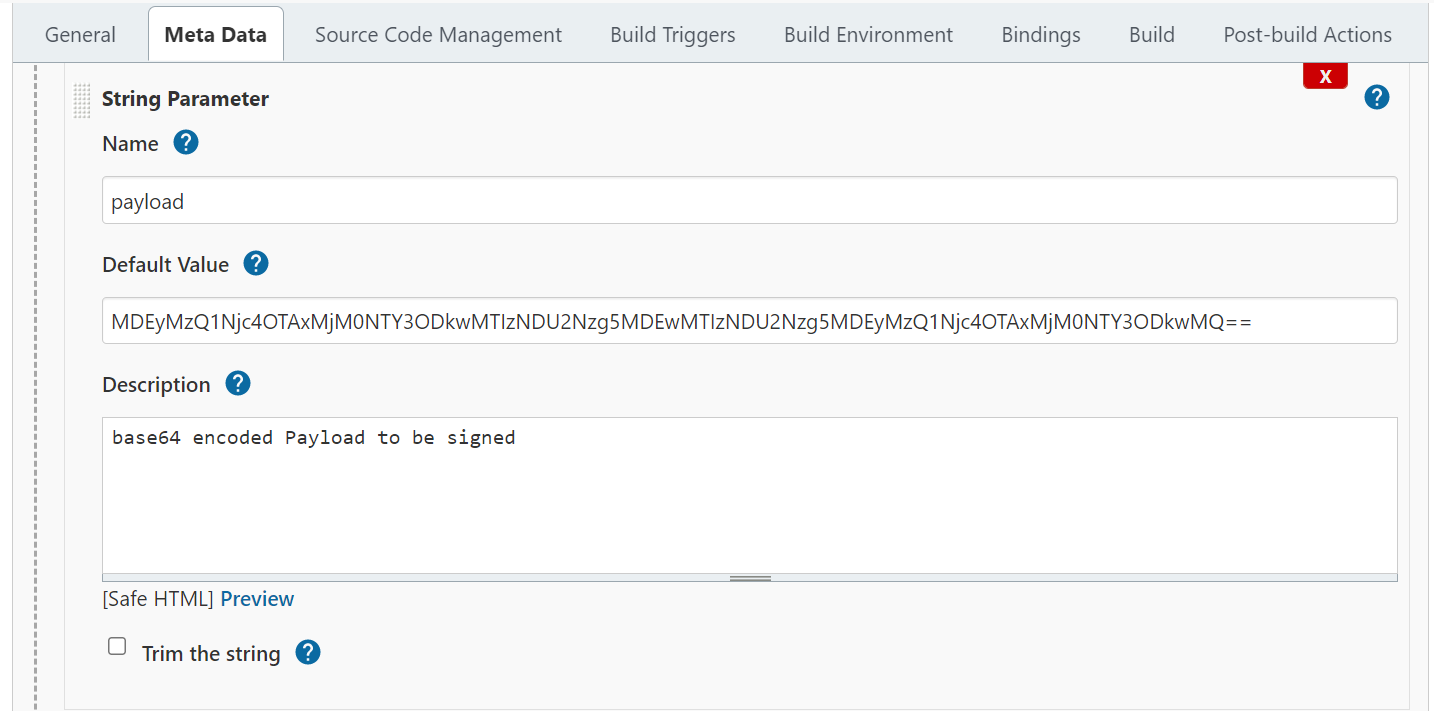
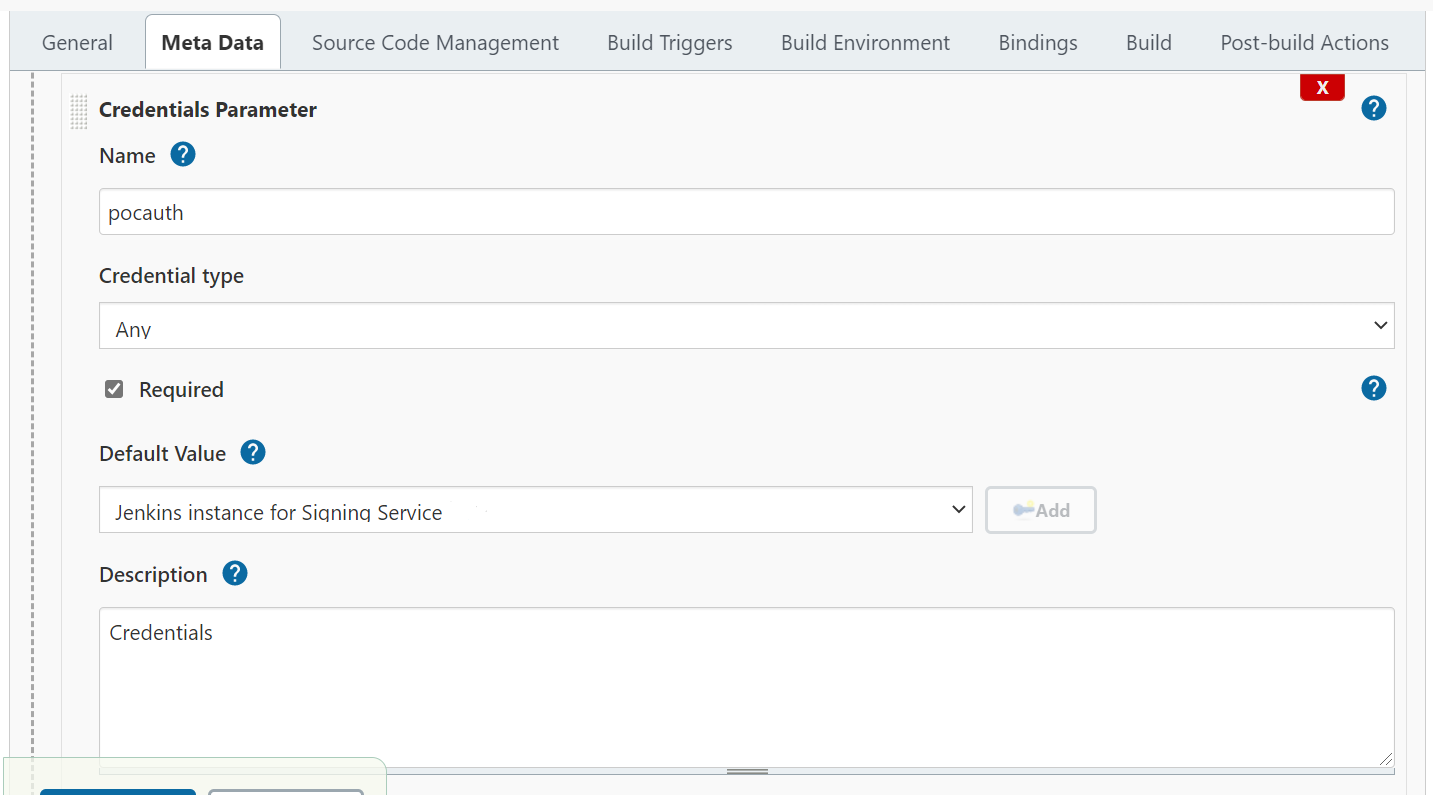
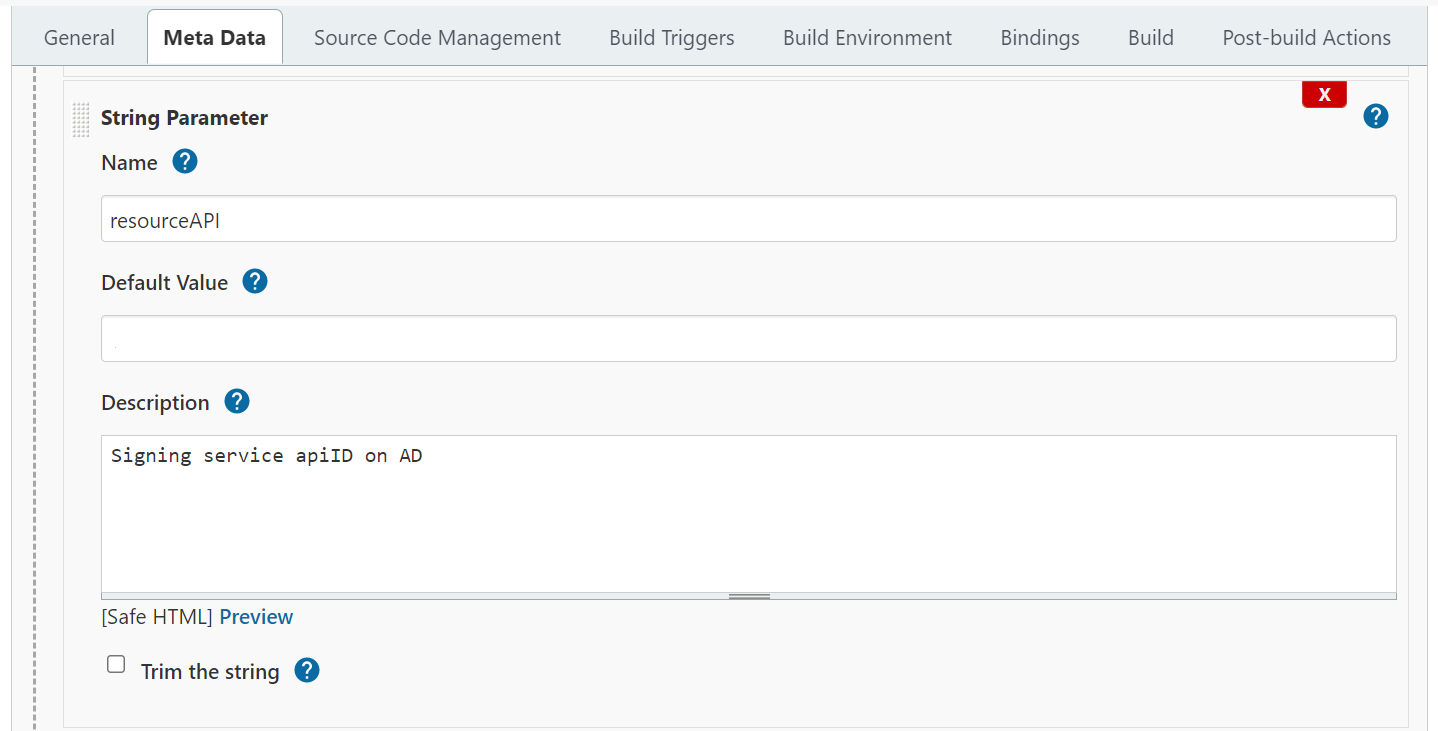
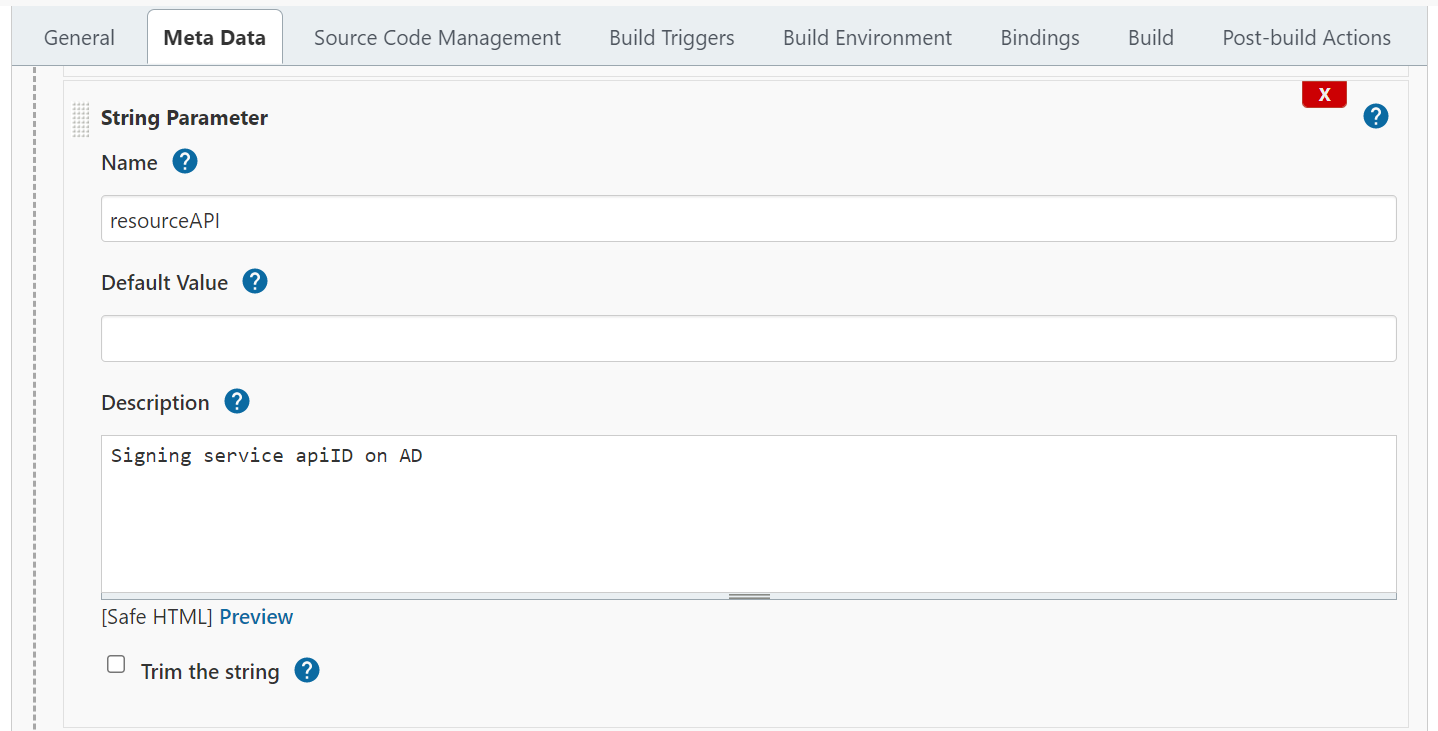
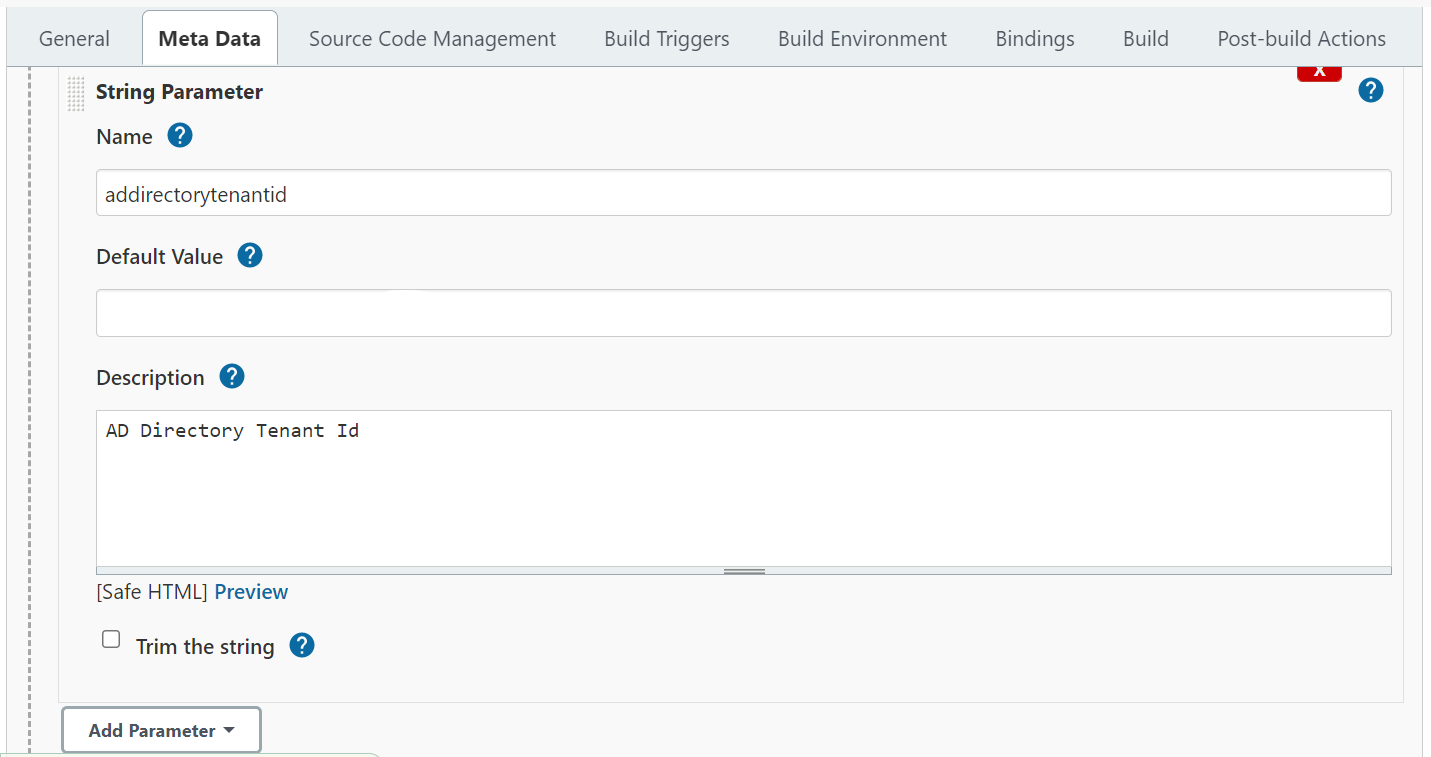
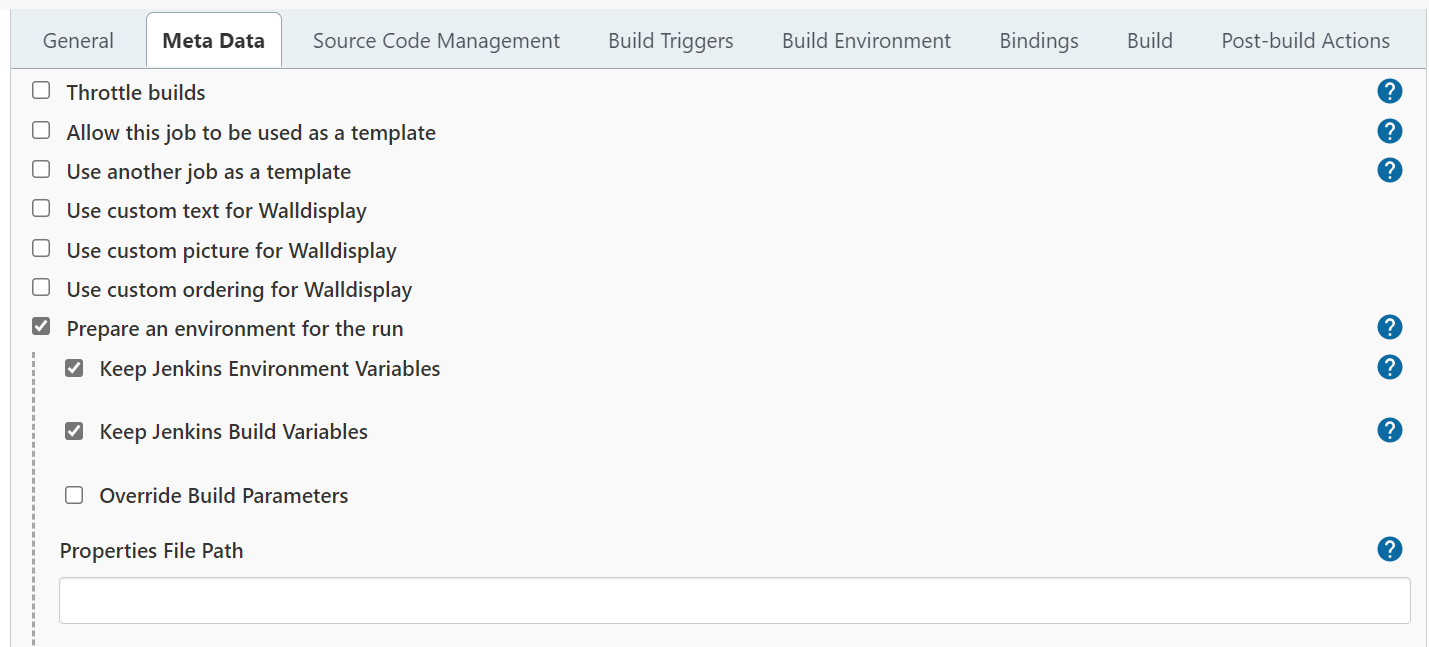
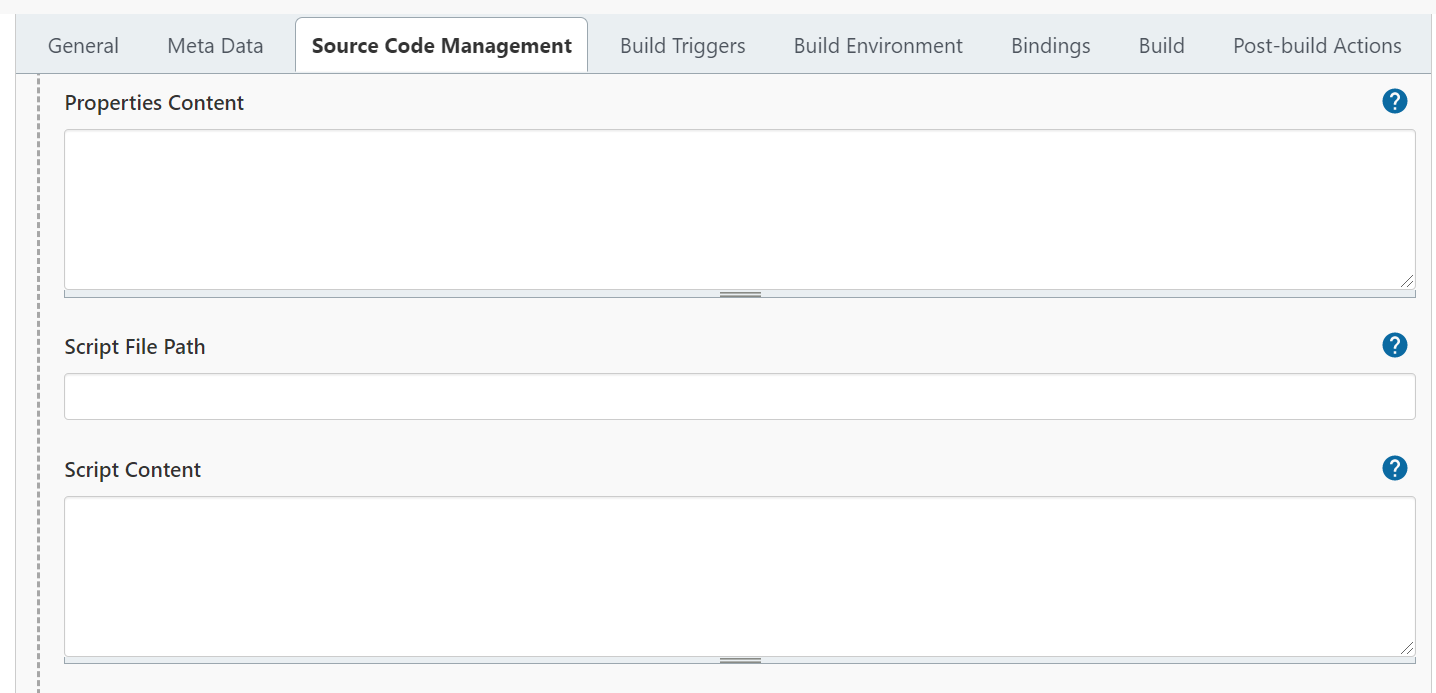
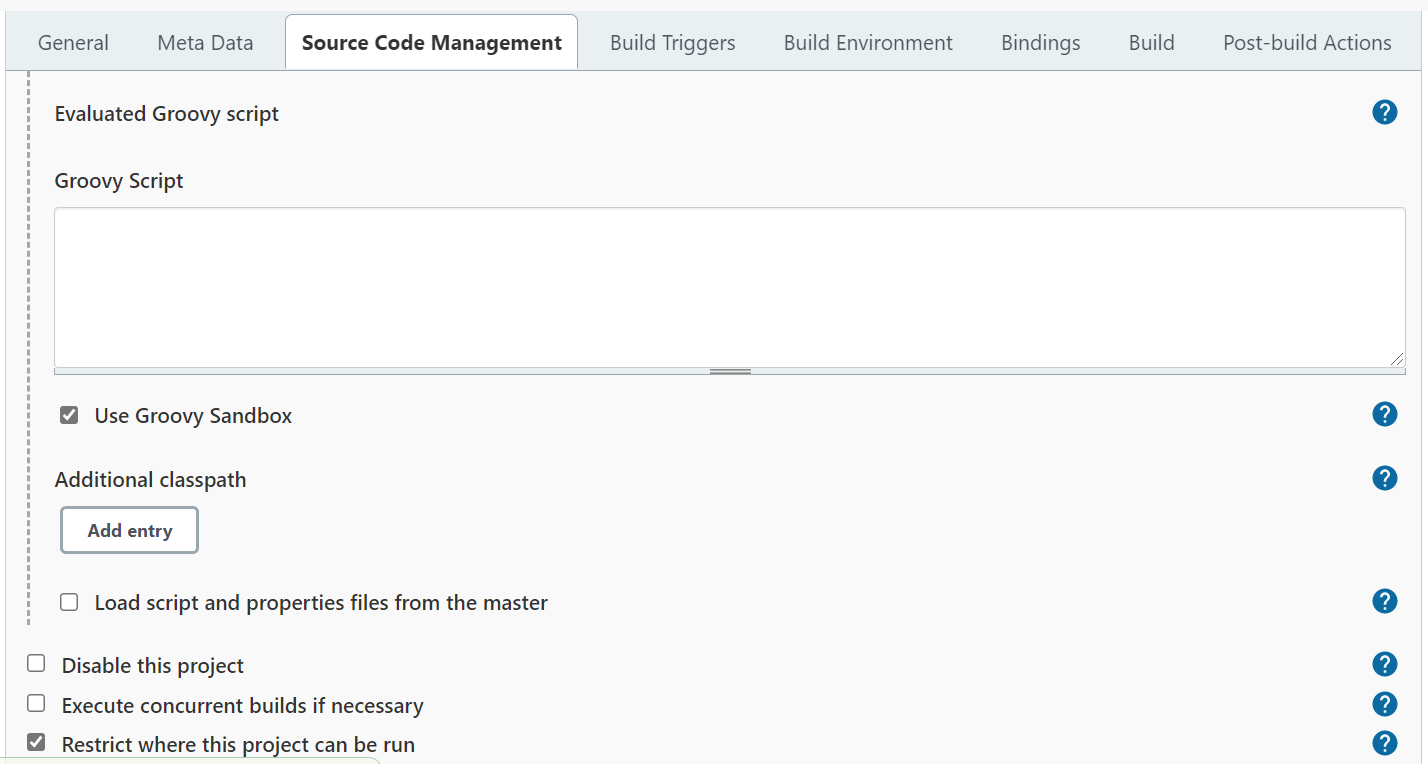
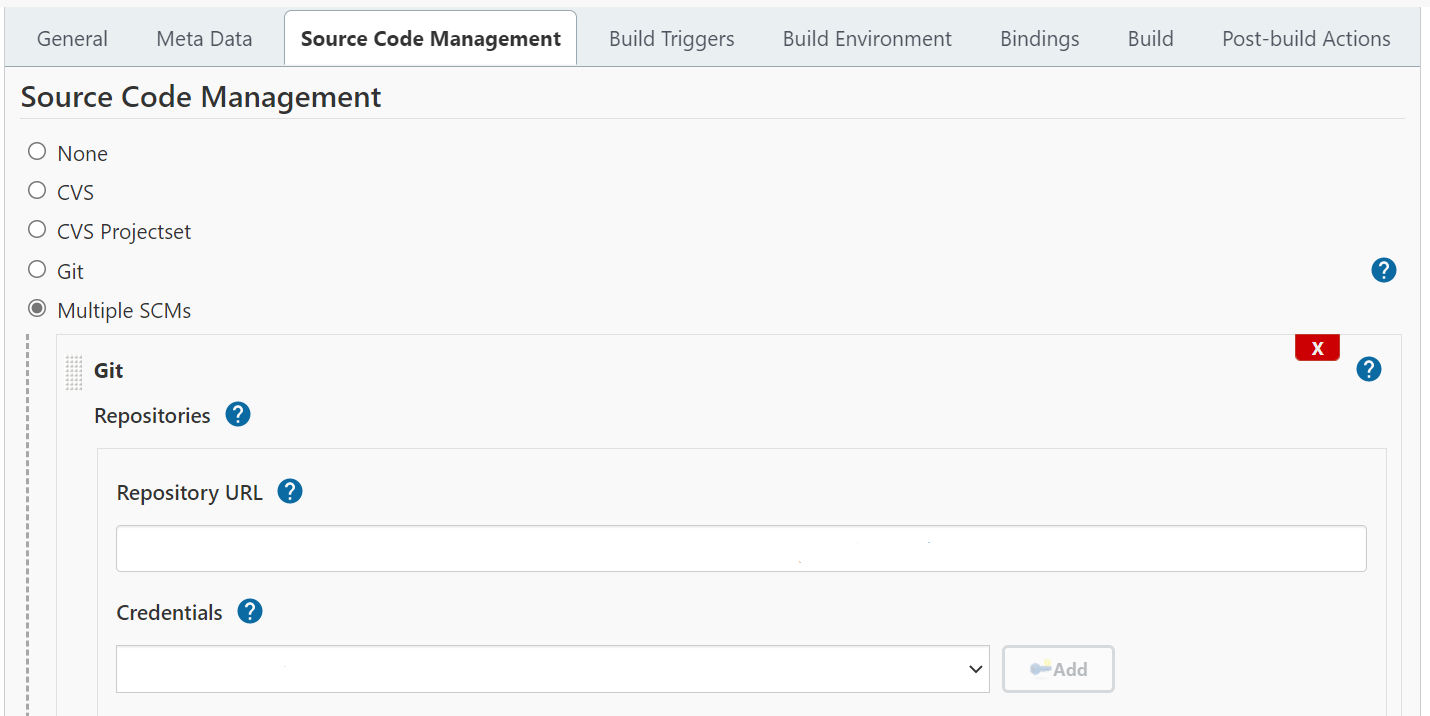
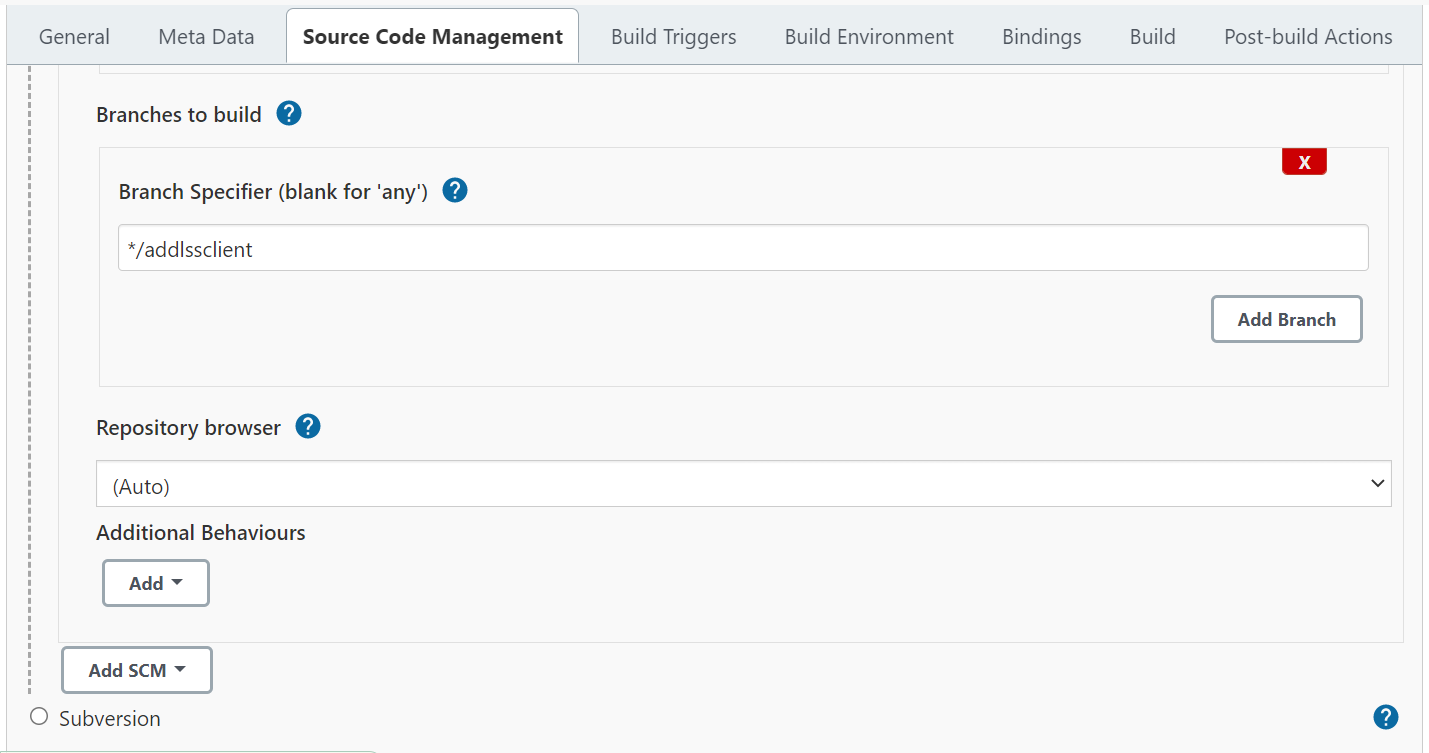
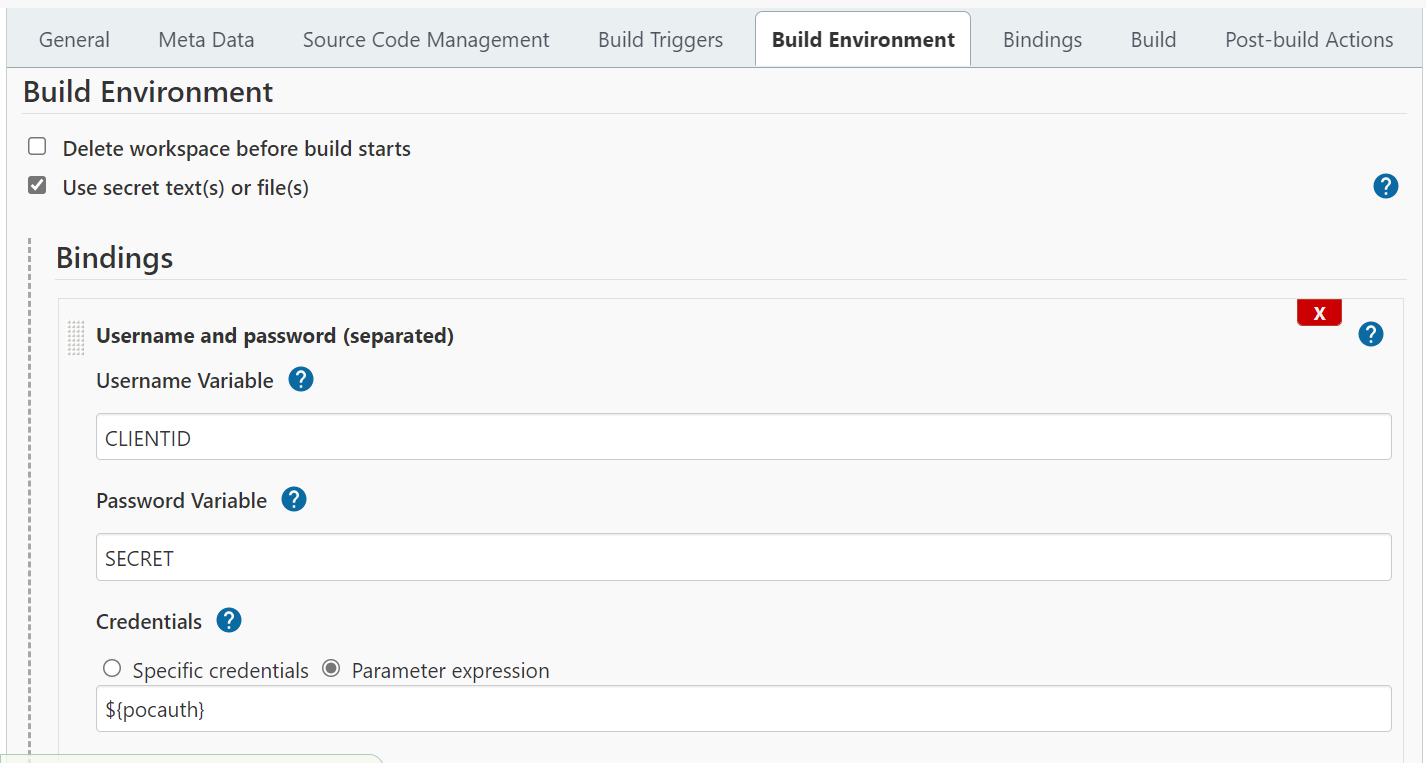
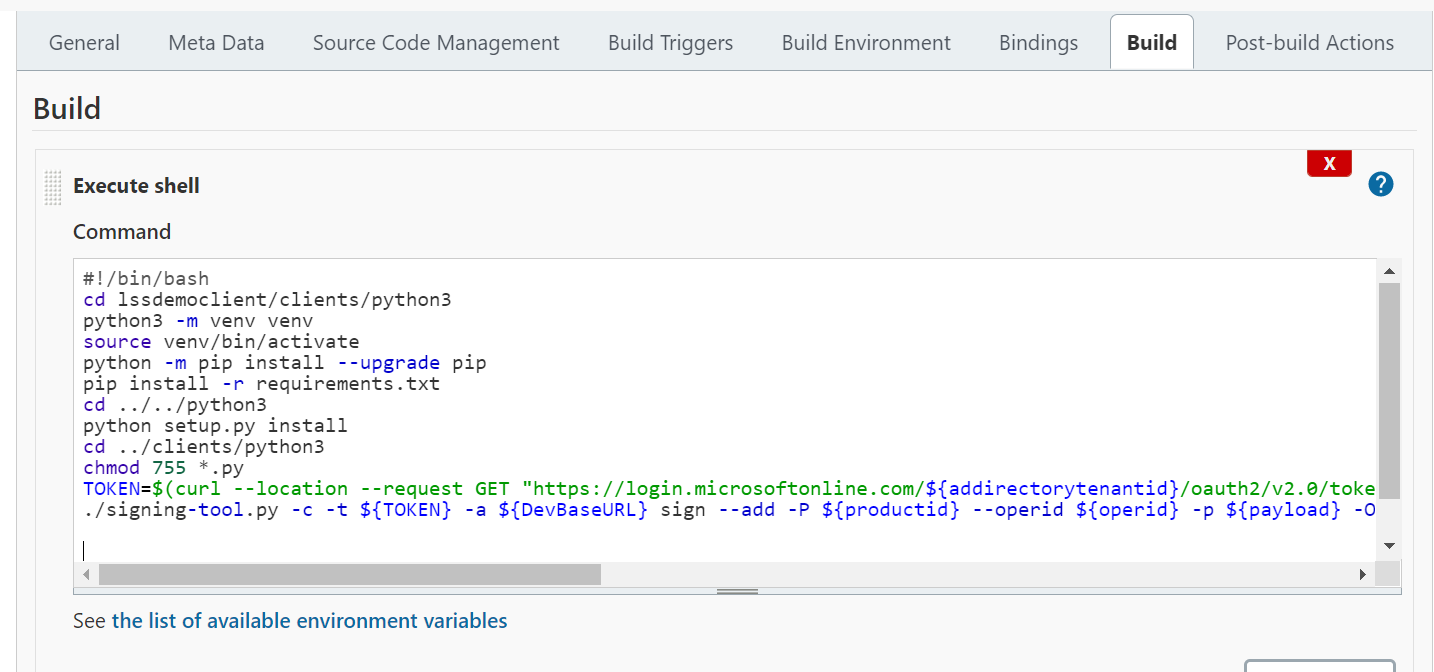
- The shell script is below as an example in text format.
The signing-tool client is published on PyPI, so a CI job installs it with pip install signing-tool — no repository
checkout or setup.py step is needed. The example below also shows the automation-oriented features of the client:
- Token via stdin (
-t @-). The access token is piped into the client instead of being placed on the command line, so it never appears in the process list or the build log. A token file (-t @/path) works the same way. --jsonfor machine-readable output. The request ID is parsed from JSON withjq(JSON keys aresnake_case).- Exit codes. The client returns
0on success and non-zero on failure (1general error,2usage error,3not ready —--waittimed out with the request still pending,4the request isRejectedorFailed,130interrupted), soset -efails the build automatically on any error. --waitwith a completed download.imagesigning get --waitblocks until the request finishes and then writes the output, so the job doesn't need a poll loop.
#!/bin/bash
set -euo pipefail

# 1. Install the published client into a clean virtualenv
python3 -m venv venv
source venv/bin/activate
pip install --upgrade pip
pip install signing-tool

# 2. Obtain an access token (client-credentials flow) into a variable
TOKEN=$(curl --silent --location --request GET \
  "https://login.microsoftonline.com/${addirectorytenantid}/oauth2/v2.0/token" \
  --form 'grant_type=client_credentials' \
  --form "client_secret=${SECRET}" \
  --form "client_id=${CLIENTID}" \
  --form "scope=${resourceAPI}/.default" | jq -r '.access_token')

# 3. Submit the digest for signing. The token is piped in via -t @- (stdin),
#    so it is never on the command line. --json makes the output parseable.
REQUEST_ID=$(printf '%s' "$TOKEN" | signing-tool --json -c -t @- -a "${DevBaseURL}" \
  imagesigning add "${operationType}" \
  -P "${productid}" --operid "${operid}" \
  -p "${payload}" -H "${hashalgorithm}" | jq -r '.id')

# 4. Wait for completion and download the signed digest in one step.
printf '%s' "$TOKEN" | signing-tool -c -t @- -a "${DevBaseURL}" \
  imagesigning get -I "${REQUEST_ID}" --wait -O signeddig.test
Note
--wait uses a socket-timeout grace period rather than a hard overall bound; for a strict ceiling combine it with
--wait-timeout. To also verify the digest you submitted matches what was signed, pass --expect-input on the
get step. See Reference Client › Usage for the full automation surface (exit codes,
--json keys, the two digests, and proxy/CA settings).